


 “I’m sorry, did you say I could make my own concrete countertop??” Yes I did! In gathering our ideas for the new studio space, we realized that we would finally have a chance to try our own concrete countertop DIY.
We loved reading about this DIY countertop last year and were so impressed that we wanted to try it ourselves. Here’s what we did:
 Supplies:
Ardex Feather Finish (we used two bags)
fine/medium/coarse sandpaper
hand orbit sander (optional but really helpful)
several sizes and widths of putty knives and drywall knives
disposable containers to mix concrete
concrete sealer*
painter’s tape
paint roller and brush
*NOTE: We shopped locally for our sealer and were told that there weren’t any food-safe concrete sealers available. We chose to go ahead with the sealer they recommended, knowing we’d always use cutting boards to protect food from the counter surface.
However, upon further research we have found a few sealers that say they are food safe (like this one).

 First, I sanded the surface of the existing formica countertop with a coarse sandpaper (the cement will hold better to a rough surface). Next, I wiped the countertop clean with a damp rag and let dry. I found it really helpful to use painter’s tape a little above where the top of the backsplash meets the wall tile.
This helped save the tile and the grout from the sanding and the color of the concrete. We also took out the sink so I could get under the lip of where the sink sits on the counter. Use a small disposable container and a paint stirrer to mix your cement.
I was able to find paper containers the size of move theater popcorn buckets at our local Ace hardware store, and I probably went through about 4-5 of those by the time I was done.
 The back of the Ardex Feather Finish said to use a 1 part water to 2 parts dry cement ratio when mixing smaller amounts, and I used a disposable plastic cup to mix this ratio in my paper bucket.
I suggest only doing 1 cup water and 2 cups of dry cement per batch so that you can spread it all before it dries (any more and it tends to harden before you can use it). I used a small and a wide putty knife as well as a large drywall trowel.
It was nice to have a mixture of tools to work with since particular ones came in handy at different points in the job. Use the tools to spread a thin layer of concrete over the top of your countertop.
It does kind of feel like you are icing a cake, but it also reminded me of using spackle to patch a hole in a wall—you use the same type of motion. Don’t worry about getting the whole surface covered on your first go, if you have a few areas that look thin, you’ll cover them with the second coat.

 When you come to a right angle (like where the backsplash meets the counter) it helps to use a wide putty knife and pull the wet cement up from the countertop on the backsplash part and towards yourself away from the wall on the countertop. Pulling the cement in the opposite directions helps give the corner a cleaner look.
The hardest part of this whole job was the rounded angle on the top of the backsplash. I had to use the small putty knife to put small amounts of wet concrete on the rounded edge, smooth it out the best I could, but honestly, I shaped most of that area during sanding.
If you’re ever in doubt, put too much concrete on-you can always sand off excess later, but you can’t add more without mixing another batch.

 I let the first coat completely air dry for 24 hours and then sanded that coat down with a medium sandpaper before adding another coat. You don’t need to get the surface very smooth at this point, you just want to sand down anything that’s sticking up a lot higher than anything else.
Use a shop vacuum to clean up the extra dust and mix your concrete to add another layer. I ended up doing three layers of concrete leaving at least 24 hours of dry time between each layer.
After the final layer, I spent several hours (yes, several hours) sanding the surface as smooth as possible. I used a coarse sandpaper first and then repeated the process with a much finer grade. I would suggest using thin gloves for this much hand sanding. I didn’t use any and my fingertips were not happy about for a few days!
I was able to use a hand sander for some of the initial sanding, but I had to be careful with it since it sometimes it seemed too strong and would create divots instead of smoothing them out. I also removed the painter’s tape at this point.
Even though I did have to use the putty knife in a few spots to scrape where a bit of concrete covered the tape, it seems to have protected the wall pretty successfully. Once the surface is smooth and your tape is removed, use the shop vacuum to remove the excess dust and you’re ready to seal your countertop!
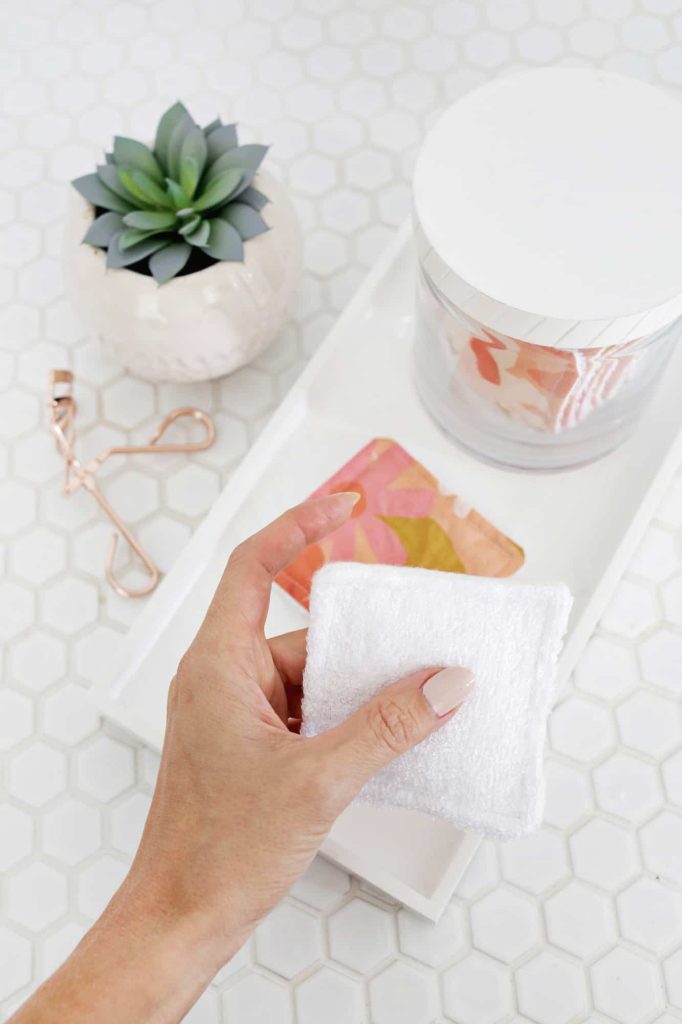
 I used three coats of a water-based satin finish sealer. This sealer package recommended applying the sealer with a short nap roller and a brush for tighter areas, and that seemed to work really well.
The sealer was the consistency of thinned skim milk, so you have to be careful not to splash it everywhere as you roll it on. Once the sealer was dry, we re-installed the sink and we were done!

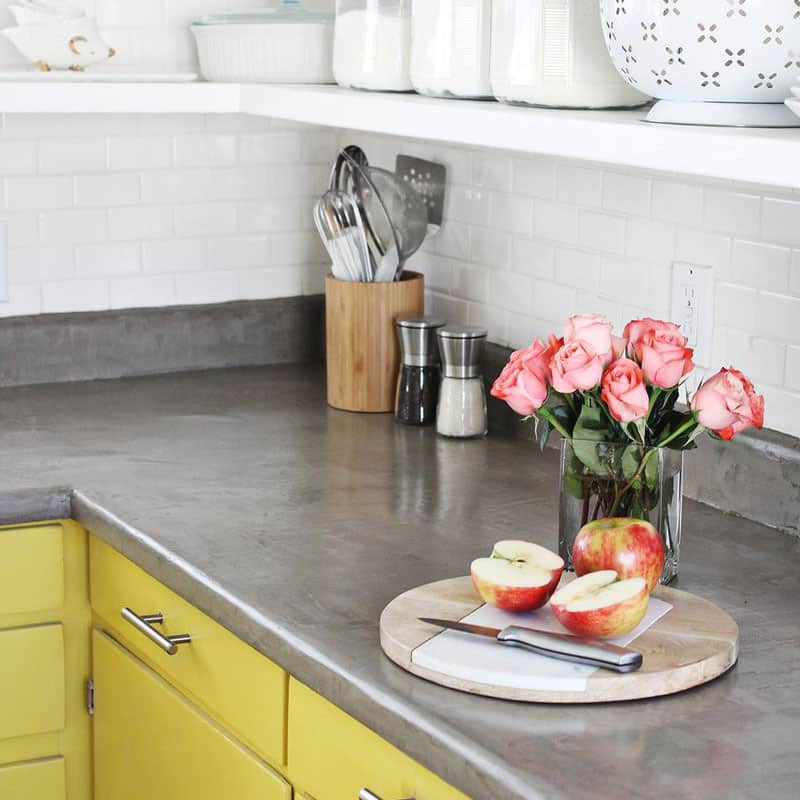
 You can see that the sealer darkened the countertop a bit, but I really like the dark contrast with the floating shelves, white tile and yellow cabinets. White kitchen accessories like these really look pretty against the grey and so would retro white appliances).
So far it seems to be holding up and appears totally waterproof as well (although if water sits on the surface for a while the area turns dark and lightens back up when it dries).
I have to say that this was a rather physically demanding project (I can’t even tell you how sore my arms were after the final round of sanding), but it was totally worth it.
Even the contractors working in the house were impressed that I was able to do it myself and how nice it turned out! We’ve done a couple of countertop DIYs but not a bad countertop makeover for under $100, right? Think you’ll be trying it in your home anytime soon? xo. Laura
Looking for more ways to makeover your kitchen? Check out ….
- Faux Marble Painted Countertop
- The Best Paint For Kitchen Cabinets
- How to Paint a Tile Backsplash
Love this post? Sign up for our newsletter for more ideas!
Join Now

Get creative ideas for recipes, crafts, decor, and more in your inbox!
 Get the How-To
Supplies
- 2 bags Ardex Feather Finish concrete
- sandpaper (fine, medium, and coarse)
- hand orbit sander (optional, but useful)
- putty and dry wall knives
- containers to mix concrete
- concrete sealer (check for food grade)
- painter’s tape
- paint roller and brush
Instructions
-
First I sanded the surface of the existing formica countertop with a coarse sandpaper (the cement will hold better to a rough surface). Next, I wiped the countertop clean with a damp rag and let dry. I found it really helpful to use painter’s tape a little above where the top of the backsplash meets the wall tile. This helped save the tile and the grout from the sanding and the color of the concrete. We also took out the sink so I could get under the lip of where the sink sits on the counter. Use a small disposable container and a paint stirrer to mix your cement. I was able to find paper containers the size of move theater popcorn buckets at our local Ace hardware store, and I probably went through about 4-5 of those by the time I was done.
-
The back of the Feather Finish said to use a 1 part water to 2 parts dry cement ratio when mixing smaller amounts, and I used a disposable plastic cup to mix this ratio in my paper bucket. I suggest only doing 1 cup water and 2 cups of dry cement per batch so that you can spread it all before it dries (any more and it tends to harden before you can use it). I used a small and a wide putty knife as well as a large drywall trowel. It was nice to have a mixture of tools to work with since particular ones came in handy at different points in the job. Use the tools to spread a thin layer of concrete over the top of your countertop. It does kind of feel like you are icing a cake, but it also reminded me of using spackle to patch a hole in a wall-you use the same type of motion. Don’t worry about getting the whole surface covered on your first go, if you have a few areas that look thin, you’ll cover them with the second coat.
-
When you come to a right angle (like where the backsplash meets the counter) it helps to use a wide putty knife and pull the wet cement up from the countertop on the backsplash part and towards yourself away from the wall on the countertop. Pulling the cement in the opposite directions helps give the corner a cleaner look.
-
I let the first coat completely air dry for 24 hours and then sanded that coat down with a medium sandpaper before adding another coat. You don’t need to get the surface very smooth at this point, you just want to sand down anything that’s sticking up a lot higher than anything else. Use a shop vacuum to clean up the extra dust and mix your concrete to add another layer. I ended up doing three layers of concrete leaving at least 24 hours of dry time between each layer.
-
After the final layer I spent several hours (yes, several hours) sanding the surface as smooth as possible. I used a coarse sandpaper first and then repeated the process with a much finer grade. I would suggest using thin gloves for this much hand sanding. I didn’t use any and my fingertips were not happy about for a few days! I was able to use a hand sander for some of the initial sanding, but I had to be careful with it since it sometimes it seemed too strong and would create divots instead of smoothing them out. I also removed the painter’s tape at this point. Even though I did have to use the putty knife in a few spots to scrape where a bit of concrete covered the tape, it seems to have protected the wall pretty successfully. Once the surface is smooth and your tape is removed, use the shop vacuum to remove the excess dust and you’re ready to seal your countertop!
-
I used three coats of a water-based satin finish sealer. This sealer package recommended applying the sealer with a short nap roller and a brush for tighter areas, and that seemed to work really well. The sealer was the consistency of thinned skim milk, so you have to be careful not to splash it everywhere as you roll it on. Once the sealer was dry, we re-installed the sink and we were done!